How to Build a Prototype of a Product: 4 Essential Steps
Many startups will use several types of prototypes as they develop their product. For hardware startups, learning how to make a 3D prototype is key. Here’s what you need to know.
1. Define Your Product Specs
Before you can understand how to make a prototype for your invention, you need to clarify your product idea. Start by writing down exactly what your product needs to do. Think through who will use it, what problem it solves, and how people will interact with it. These requirements will guide your entire design process.
Next, dive into the technical details. Write down specific performance targets, size limits, and environmental conditions your product needs to handle. Think about manufacturing too – what materials you'll use, how parts will connect, what standard components you'll need, and how your packaging will enhance the final product's appeal and usability. Your specs will likely change as you learn more, but having them written down gives you a clear direction to start designing.
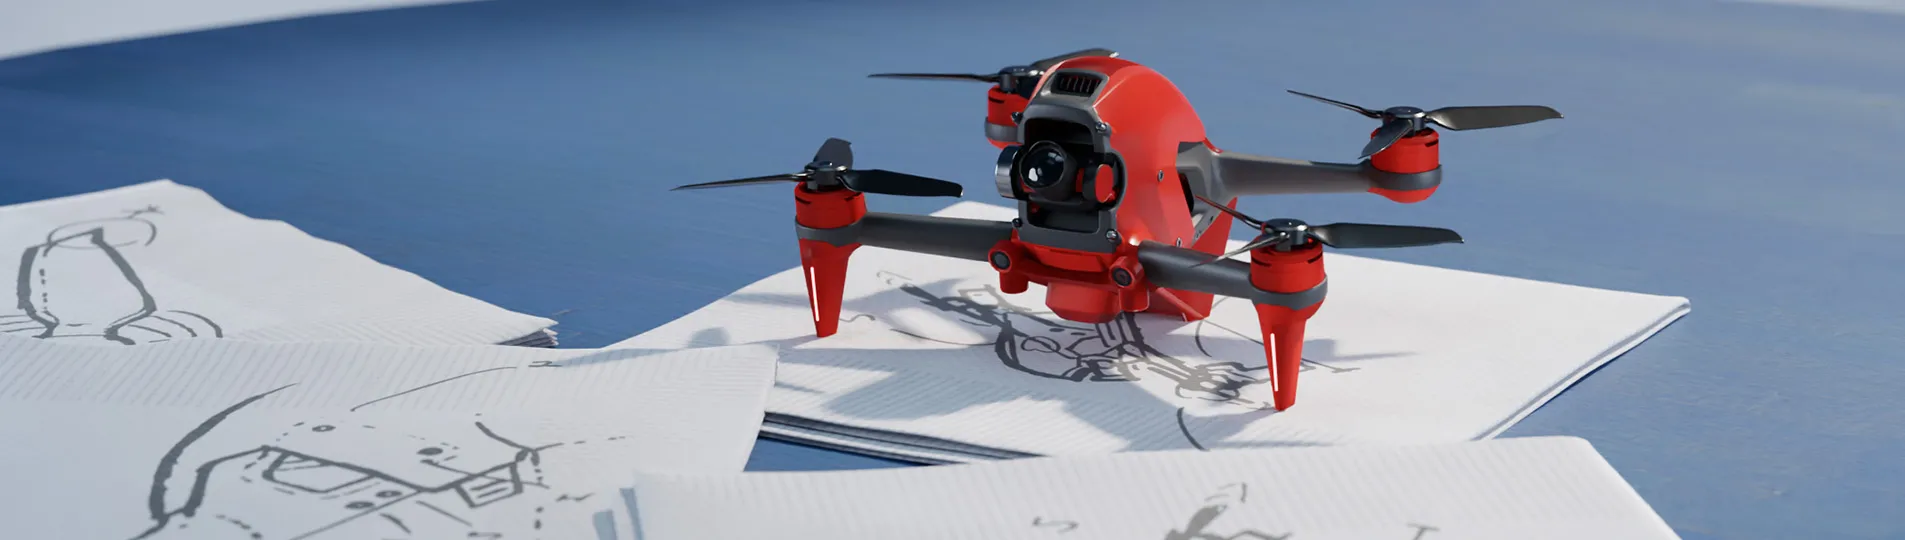
2. Sketch Initial Designs
While you might start with pencil sketches, moving to 2D CAD software helps you create precise, professional drawings. Most CAD programs let you start with basic shapes and add detail as you go. Remember, the goal isn't perfection – it's to explore options quickly and cheaply.
Don't stop at your first idea – create multiple versions of your design. Try different shapes, layouts, and mechanisms. Share these sketches with potential early adopters and manufacturing partners to catch problems early. Their feedback helps you refine your design before moving to 3D modeling.
3. Build a Virtual Prototype
Now comes the most exciting part of how to build a prototype: Turning your 2D sketches into a detailed 3D model. Start with the main body or frame, then add other components. Modern CAD software's parametric design capabilities mean when you change one part, related parts update automatically, saving you hours of redrawing and making it easy to refine your product design.
The real power comes from virtual testing, which helps you refine the usability of your design before creating physical prototypes. Instead of building physical prototypes, choose a software that lets you run simulations to check strength, heat flow, vibrations, and more. When you spot problems, you can fix them with a few clicks instead of rebuilding physical prototypes.
4. Print a 3D Prototype
While virtual testing is powerful, holding a physical model of your product is a special moment. 3D printing bridges the gap between digital designs and physical prototypes, letting you create parts quickly and affordably. Just be sure to choose a CAD software that can easily export files directly to a 3D printer.
Start with smaller test prints of complex parts to verify they work as planned and make necessary iterations before proceeding to full-scale prototypes. To save costs, you can use different materials depending on what you're testing, like standard plastics for basic fit checks or stronger materials for testing mechanical features. 3D printed prototypes also help you pitch to investors and customers who want to see and touch a physical representation of your final product.